Things to Scan on the Shop Floor
Standard Time® supports a rich set of scannable items. Below is everything you can scan to keep your shop floor data accurate and up to the minute.
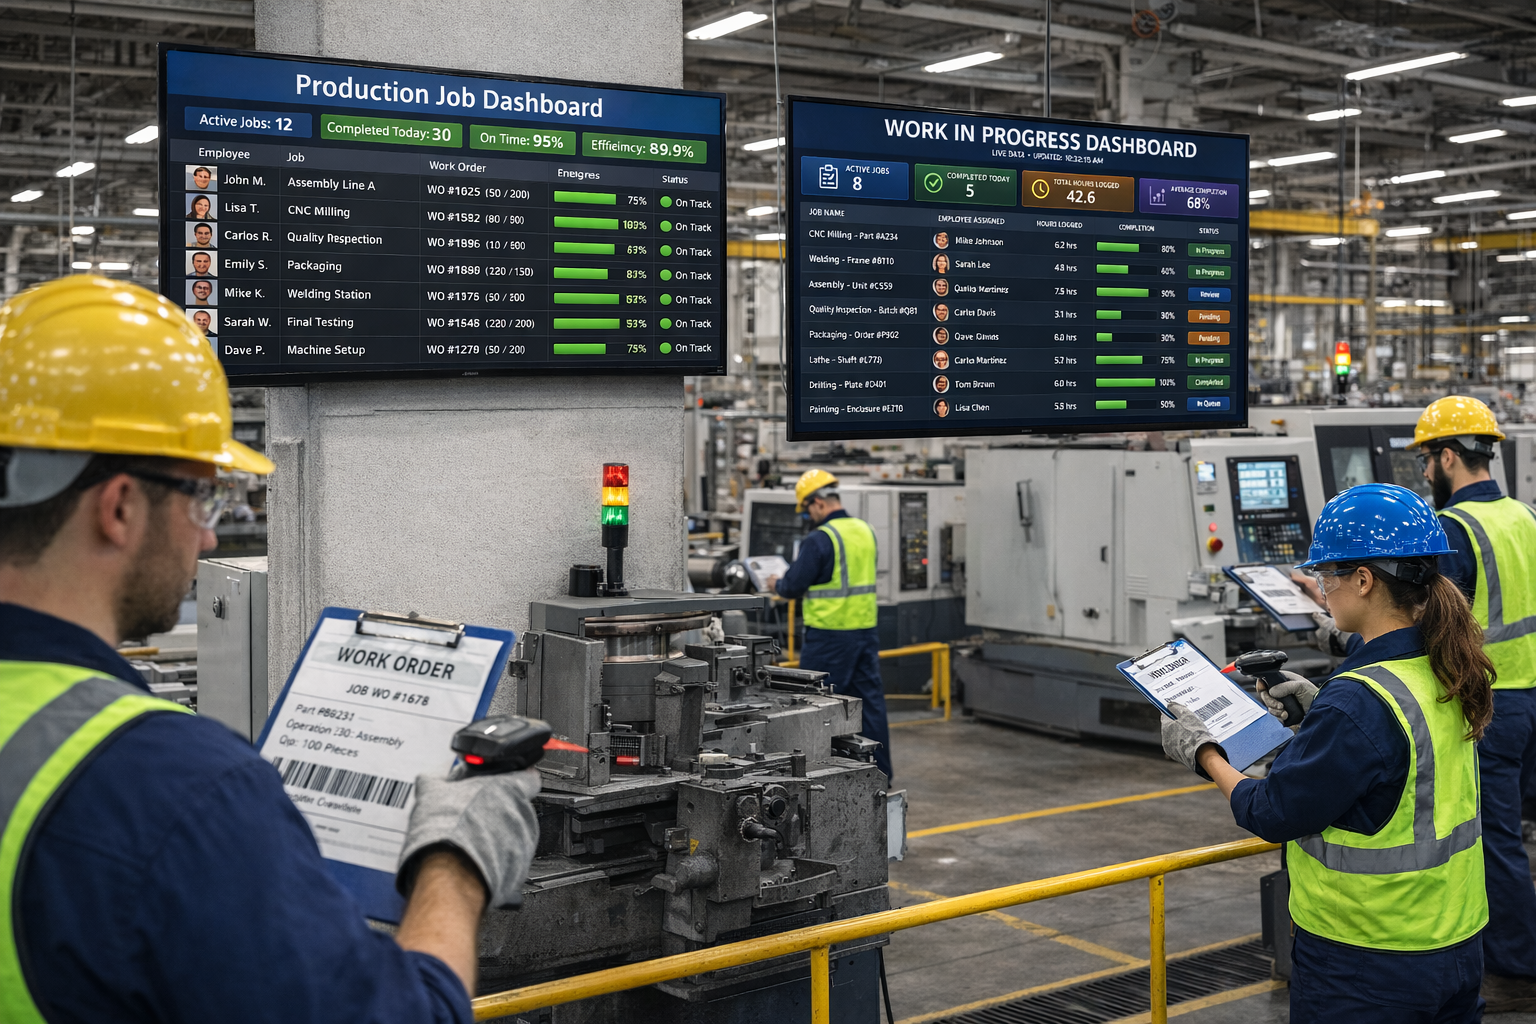
| Item | Description |
|---|---|
Employee name | This is usually the first thing to scan before anything else. It identifies the username or employee doing the work. You can print this barcode label as an employee badge, or post it on a workbench to scan. You'll likely only print this barcode label once, and reuse it many times. |
Employee ID | You can optionally scan an employee ID instead of the name. Scanning the ID has the same effect as scanning the name above. |
Job | This is a unique job number or name, and is usually the second barcode label to scan, just after username. It is the name of a project in Standard Time. Scanning this tells ST which job the employee is working on. Every time log in Standard Time requires a username and project. |
Project code | Alternative to job name with identical functionality. |
Project task | Optional scan identifying specific work phases; timer typically starts after. |
STOP | Stop a running timer after identifying the employee. |
USERNAME STOP | Combination scan containing both employee name and STOP on one label. |
COMPLETED | Stops timer and marks project task as complete simultaneously. |
COMPLETED100% | Stops timer, marks task complete, and sets completion percentage to 100. |
CLEAR | Clear the screen to start over without stopping active timers. |
CANCEL | Alternative to CLEAR that doesn't stop running timers. |
USERNAME CANCELTIMER | Deletes the employee's running timer when a mistake was made. The timer must be running. |
SHIFT TOTAL | Displays the number of hours an employee has worked during the current shift. |
RESTARTLASTJOB | Restarts timer with identical information from previous task. |
Expense template name | Creates new expense record based on selected template. |
Inventory name | Deducts one item from stock; sub-items also deducted if applicable. |
Inventory SKU / Code / Vendor SKU / Mfg SKU | Alternatives to inventory name with identical effects. |
ADD-N-INVENTORYNAME | Adds specified quantity to inventory stock. |
SUB-N-INVENTORYNAME | Deducts multiple items from stock. |
PROMPT-INVENTORYNAME | Prompts user for quantity before deducting from stock. |
INV-ADD / INV-SUB | Prompts for the inventory name or SKU, then a quantity, and adds to or deducts from stock. See the Inventory Barcode Scanning guide. |
INV-SCRAP | Prompts for the inventory name or SKU, then a quantity, and deducts it from stock as scrapped material. If the item creates expenses, the expense is recorded under the Scrap expense type. See INV-SCRAP. |
INV-QTY | Prompts for an inventory name or SKU and shows how many are in stock and where they are located. Read-only — nothing is changed. See INV-QTY. |
INV-BUILD | Prompts for an assembly and a quantity, adds that many finished assemblies to stock, and deducts the components in its Bill of Materials. |
INV-BUILD-START / INV-CHECK-START / INV-STOP | INV-BUILD-START then scan an assembly, then scan its components to add them to its Bill of Materials. INV-CHECK (or INV-CHECK-START) then scan an assembly and its components to verify that the parts match its Bill of Materials. INV-STOP ends either mode and reports the result. |
INV-ADD-LOC / INV-SUB-LOC / INV-SET-LOC / INV-MOV-LOC / INV-DEL-LOC | Manage stock levels across multiple locations. |
JOBS-TODAY / JOBS-THISWEEK | Display upcoming jobs for current employee based on dates. |
JOBSTATUS | Pops up a read-only status summary (created date, hours logged, percent complete, who's clocked in) for the scanned project. See the JOBSTATUS guide. |
Tool name | Scan CHECKOUT TOOLNAME or CHECKIN TOOLNAME for tool control. Scanning only CHECKOUT or CHECKIN prompts you to scan the tool. |
Tool code / serial number | Alternative to tool name using manufacturer SKU labels. |
Client name | Associates client with work when not pre-assigned to job. |
Category name | Associates category when no project tasks assigned. |
Script name | Performs company-specific operations like emails or database queries. |
Script code | Alternative to script name with identical effects. |
Barcode macro name | Replays a saved sequence of scans from a single barcode. See Barcode Macros. |
Subproject name | Associates a subproject (phase) with the work when it is not already part of the job. |
DIAGNOSTICS-ON / DIAGNOSTICS-OFF | Turns on or off detailed scan troubleshooting information. Normally used only when working with Standard Time support. |
Work order name | Associates work order with time log records. |
ACTIVATEJOB / DEACTIVATEJOB | Sets active property for scanned project. |
PRSTATUS-thestatus | Communicates project status from shop floor to managers. |
TKSTATUS-thestatus | Communicates current task status to management. |
WOSTATUS-thestatus | Communicates work order status; PRSTATUS recommended instead. |
WOBUILT-text | Adds one to the "Qty built" value of the scanned work order each time it is scanned (whatever follows the hyphen is ignored). Scan the work order first. |
TIMELOG-text1-hours | Creates completed time log with text field and duration. |
USERNAME QTY-ADD-N | Adds N to the quantity field on the employee's running time log (for example, QTY-ADD-5 adds five). The timer must be running. |
USERNAME QTY-SET-N | Sets the quantity field on the running time log to exactly N instead of adding to it. |
USERNAME PASS-ADD-N | Adds N to the "Qty passed" field on the running time log for QA inspection tracking. |
USERNAME PASS-SET-N | Sets the "Qty passed" field on the running time log to exactly N instead of adding to it. |
USERNAME SPEED-N | Sets the speed field on the employee's running time log. |
USERNAME++PROJECTNAME++TASKNAME | Single barcode combining multiple values using "++" separator. |
ADDTIMER / ENDTIMER / ADDTIMER-fieldname-value / ENDTIMER-fieldname-value | Allows multiple simultaneous timers per employee. |
ENDTIMERPROMPT | Lists an employee's running timers as a numbered menu; scan back the number to stop that one. |
ADDTIMERSPLIT | Adds a job to the running timer's split list, without starting a second timer. |
VIEWSPLITTIMER | Read-only preview of how the running timer's time would divide if stopped right now. |
CLEARSPLITTIMER | Clears every job collected for auto-split, whether added via ADDTIMERSPLIT or SPLITTIMER. |
SPLITTIMER / SPLITTIMER-projectname | Legacy: adds jobs to current timer; splits hours evenly at completion. |
DISPLAYPROJITEMS / DISPLAYTASKITEMS | Opens all attached documents for display. |
PREVIEWPROJITEMS / PREVIEWTASKITEMS | Displays list of possible documents for user selection. |
STOPALLTIMERS / STOPSELECTEDTIMERS / STOPPROJECTTIMERS | Stops multiple employee timers with single scan. |
How to start a timer with barcodes
| Scan sequence | Description |
|---|---|
| 1. Username | The employee who will be performing the work |
| 2. Project name | The work order number or name that will be worked on |
| 3. Task name | The task or step or phase of the work in progress |
Normally, after scanning these three items, a timer will start. You can see the results in the Time Log in Standard Time. Each time log will contain a start time, stop time, actual duration, employee, project, task, and other information useful for reporting and calculations. Administrators can configure additional "Required Scans" to appear after scan #3, and must be completed before the timer will start.
How to stop a running timer with barcodes
| Scan sequence | Description |
|---|---|
| 1. Username | The employee timer to stop |
| 2. STOP | The word STOP ends the timer |
All timers, whether running or stopped are visible in the Time Log view in Standard Time. Running timers will not contain a Stop time. After scanning STOP, the Stop time will be filled in and the record is considered complete. All jobs in progress are displayed in the WIP screen. See View, Work In Progress.
Default values supplied instead of scanning
You can optionally configure Standard Time or BC to automatically supply the following information with every scan. This reduces the number of required scans and simplifies employee input. The values below are normally scanned manually, in sequence. But they can be automatically supplied when the information never changes. An example might be that "John" always works in "Welding" at a certain workbench. The username John can be selected as a default item for a certain tablet workstation. The word "Welding" could be automatically supplied as the location. With this information automatically supplied, John only needs to scan a work order number and task. That has reduced the redundancy and monotony of the scanning process and made John's life a little easier.
| Default item | Description |
|---|---|
| User | An employee who always works at one workstation |
| Project | A project that is always underway at one workstation |
| Task | A task that is always performed at a workstation |
| Text 1 | Any special value you wish to collect at a workstation |
| Text 2 | A second value |
| Text 3 | A third value |
| Location | The location this workstation is placed at |
| Device | The device or machine this workstation is placed at |
Where do I start barcoding on the shop floor?
Follow these general steps to begin scanning barcodes.
- Choose Tools, Users and Organization to see your username
- Print a label for that username (Use the IDAutomation font in MS Word, or see How to Generate Barcodes and QR Codes)
- Choose File, Project Wizard to create a new project and tasks
- Print barcode labels for the new project and tasks
- Press the F4 window to begin accepting barcode scans
- Scan the username
- Scan the project name
- Scan a task name
- The timer will start
- Click the "Time Log" tab to see the new timer
- Perform the task you scanned
- Scan your username again, after the task is complete
- Scan STOP to stop the timer
- Check the Time Log to view the completed scan